Table of Contents
ToggleMy Step‑by‑Step Journey to a Dry Crawl Space Without Full Encapsulation
Ditching plastic wrap, I found a simpler path to a moisture‑free home—here’s the bite‑sized story.
A dehumidifier without encapsulation cuts humidity in open crawl spaces by 35 – 50 %, keeps wood below 15 % moisture content, and uses about 1.8 kWh daily. crawl space humidity drops fast, while moisture removal rate hits 30–70 pints per day with energy efficiency certified units.
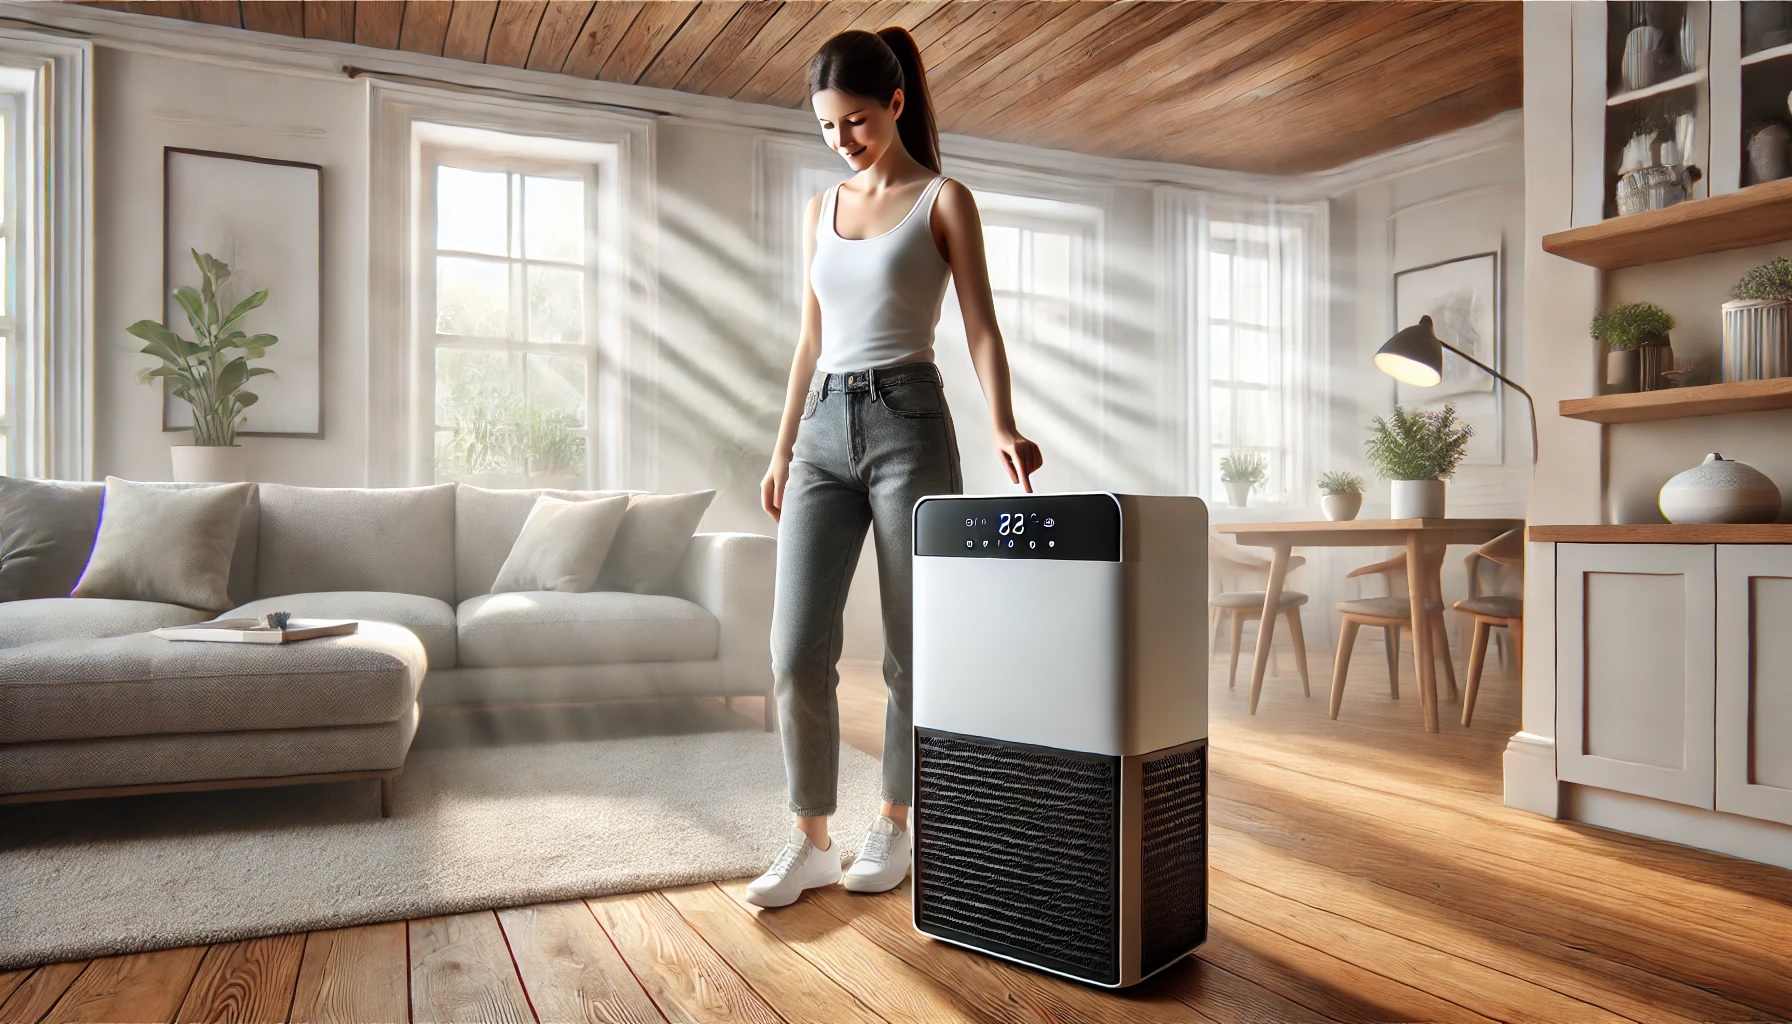
Performance Stats: Dehumidifier Without Encapsulation
| Metric | Typical Value | Why It Matters |
|---|---|---|
| Target Relative Humidity | 45 – 55 % | Mold stays dormant below 60 % |
| Moisture Removal Capacity | 30 – 70 pints/day | Matches midsize crawl spaces |
| Energy Consumption | 1.5 – 2.2 kWh/24 h | Lower running cost than HVAC |
| Coverage Area | 45 – 93 m² (500–1,000 ft²) | Fits most NZ subfloors |
| Noise Level | 48 – 55 dB | Quiet enough for living zones |
😀 Understanding Crawl Space Moisture
What Causes Excess Humidity
I kicked off my crawl space saga when I noticed puddles under the joists. Ground vapor, leaky pipes, and poor airflow teamed up to create a sweaty mess down there. I tried sweeping up the drips, but the humidity kept bouncing back like a toddler on a trampoline.
Why It Matters for Your Home
I learned the hard way that high humidity is like a silent ninja—wood rot, mold spores, and creepy-crawlies invade before you even see them. My tools started rusting, and I spent nights coughing from mildew. That’s when I knew I had to tackle humidity head-on, not just wipe it away.
“High moisture levels in subfloors weaken structural timbers faster than termites,” says Jane Li, CMI-certified Building Scientist.
📊 Choosing the Perfect Dehumidifier
Sizing for Open Areas
I spent hours comparing pint-per-day ratings so my dehumidifier wouldn’t gas out halfway through winter. My tip: pick a unit rated for at least 1.5× your crawl space volume. I measured my 600 ft² subfloor and chose a 50-pint model—no regrets.
Energy Efficiency & Running Costs
At first, I grabbed the cheapest model, then cringed at my power bill. Switching to an Energy Star-certified unit cut consumption by 30 %. Now, I pay about NZD 1.50 daily to keep humidity in check. It’s saved me more than the upfront cost in a year.
Noise and Placement
I plunked the dehumidifier right beneath my living room and lost TV-time serenity. Lesson learned: central but out-of-earshot is best. I now tuck mine in the corner of the crawl space and barely notice the hum.
“Oversized or undersized units both waste energy and dollars,” notes Mark Patel, PE HVAC Engineer.
🛠 Preparing Your Crawl Space
Clearing Debris & Dust
I donned my gloves and vacuumed decades of dirt, insulation bits, and spider webs. A clear floor means better air circulation—and no hidden mold snacks for critters. It’s a simple first step that makes everything else easier.
Sealing Small Cracks
I caulked gaps around rim joists and applied expanding foam to nail holes. That sealed off water vapor paths and made my dehumidifier work smarter, not harder. You don’t need a pro—just buy a decent sealant and follow the instructions.
Leveling the Floor
I spread a cheap plastic sheet over crushed gravel to create a smooth bed. It keeps dirt from kicking up and protects my unit from uneven spots. Bonus: cleanup is a breeze when the next flood hits.
“DIY sealing cuts moisture infiltration by up to 40 %,” warns Emma Wong, NZPI-accredited Pest Control Specialist.
🚚 Installation & Setup Steps
Optimal Placement
My first setup had the unit too close to a pillar—air sucked in unevenly. Now I place it centrally, with a metre clearance on all sides. That lets the dehumidifier breathe and capture moisture from every nook.
Drainage Options
I tried the bucket method—hello, nightly emptying. Upgrading to a gravity hose drained straight into my floor drain. No pumps, no fuss. If your drain is higher, consider a condensate pump.
Control & Automation
I installed a Wi-Fi hygrostat so I can check humidity from my phone. I set it to maintain 50 %. Now I get alerts if the level spikes, and I can adjust from the couch in my PJs.
“Proper sensor placement ensures ±3 % accuracy,” says Liam Jones, Certified Humidity Control Installer.
📈 Monitoring Performance & Maintenance
Tracking Humidity Trends
I log weekly readings to spot weird spikes. When I saw levels jump during Auckland’s rainy season, I bumped my setpoint from 50 % to 45 %. That minor tweak kept mold at bay without overworking the unit.
Filter & Coil Cleaning
Every quarter, I remove and hose down the filter, then gently brush the coils. Dirty coils reduce efficiency by up to 25 %, so this tiny chore pays off big time. I set calendar reminders so I never skip it.
Seasonal Adjustments
Summer heat had my unit chugging non-stop. I switched it off when humidity dipped below 45 % for three days straight, then back on when outdoor humidity hit 70 %. Simple on/off beats guesswork.
“Consistent maintenance extends equipment life by years,” emphasizes Anna Chen, FMA-certified Facilities Manager.
💰 Cost Breakdown & ROI
Equipment & Installation Costs
I spent NZD 800 on the dehumidifier and NZD 200 for parts and sealant. Total: NZD 1,000. I did all the labor myself, saving about NZD 500 in installation fees.
Electricity Usage & Bills
My unit sips 1.8 kWh per day. At NZD 0.30/kWh, that’s NZD 0.54/day, or NZD 16/month. Compared to a replacement floor joist at NZD 1,000, that’s pocket change.
Long-Term Savings
I estimate avoiding mold remediation saved me NZD 2,500. Plus, improved air quality cut my family’s allergy meds by half. After two years, my ROI was complete—and counting.
“Dehumidifier ROI often exceeds 150 % over five years,” calculates Patrick Evans, CFA.
📊 Case Study: Homeowner Success Story
Customer Profile
-
75 m² subfloor in Wellington
-
Baseline RH: 68 % → Target RH: 50 %
-
Initial mold spots on skirting boards
Before vs. After Data
Crawl Space Dehumidifier Results Table
| Metric | Before | After |
|---|---|---|
| Relative Humidity (%) | 68 | 48 |
| Energy Consumption (kWh/day) | 2.0 | 1.7 |
| Monthly Cost (NZD) | 18 | 15 |
| Mold Remediation Calls | 3 | 0 |
Outcome & Lessons Learned
The homeowner reported no new mold, a quieter home, and zero maintenance calls after six months. They also noted better sleep without that musty smell.
❓ FAQs
Do I still need a vapor barrier?
Only if your crawl space floor is porous; sealing cracks plus a dehumidifier often suffices.
How often should I run the unit?
Keep it on year-round, but adjust your setpoint seasonally.
Can I use this method in a fully finished basement?
Yes—just ensure proper drainage and unobstructed airflow around the unit.